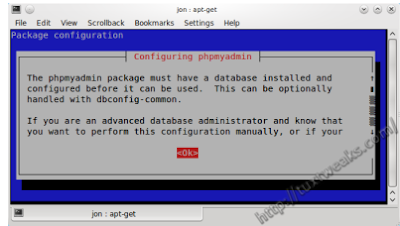
To install it, type and run the following commands one by one in the terminal:
sudo apt-get install apache2
sudo apt-get installphp5 libapache2-mod-php5
sudo apt-get install mysql-server mysql-server
 | ||||||
| My SQL root password |
You'll then be prompted to enter a MySQL application password for phpmyadmin. You can hit <Enter> and a random password will be generated. I chose to use the same password that I used for the root MySQL password.
If you enter your own password, a password confirmation screen will come up. Confirm your password.
 | |
| My SQL Application Password |
 | |
| Confirmation Password |
sudo apt-get install phpmyadmin
 | |
| phpMyadmin setup |
 | |
| phpMyadmin setup:select apache2 |
 |
| phpMyadmin Database config |
 | |
| phpMyadmin dbconfig-common |
sudo apt-get install libapache2-mod-auth-mysql php5-mysql
sudo /etc/init.d/apache2 restart
Note: We will be promoted to enter the password for mysql,phpmyadmin etc.It will look as if installation is going on with blue blink. But don’t get confuse. It is the space where you have to write the password. Press the Tab key to navigate from one button to another like to choose ok or cancel button, press the tab key for choosing it.
No comments:
Post a Comment